Every banquet layout is an argument about what the room is for. Rounds argue for conversation. Theater argues for the stage. A hollow square argues that nobody in the room outranks anybody else. Once you can read a floor plan that way, choosing a layout stops being a matter of taste and becomes a matter of fit, and the setup crew stops rebuilding the room at four in the afternoon because the shape was wrong from the start.
What follows is sixteen layouts, one at a time, with the spatial logic behind each: what it is for, roughly how many people it seats per unit of floor, the clearances it demands, and the conditions under which it quietly falls apart. If you want the full planning method rather than the catalogue, start with the event floor plan guide and come back here to pick a shape.
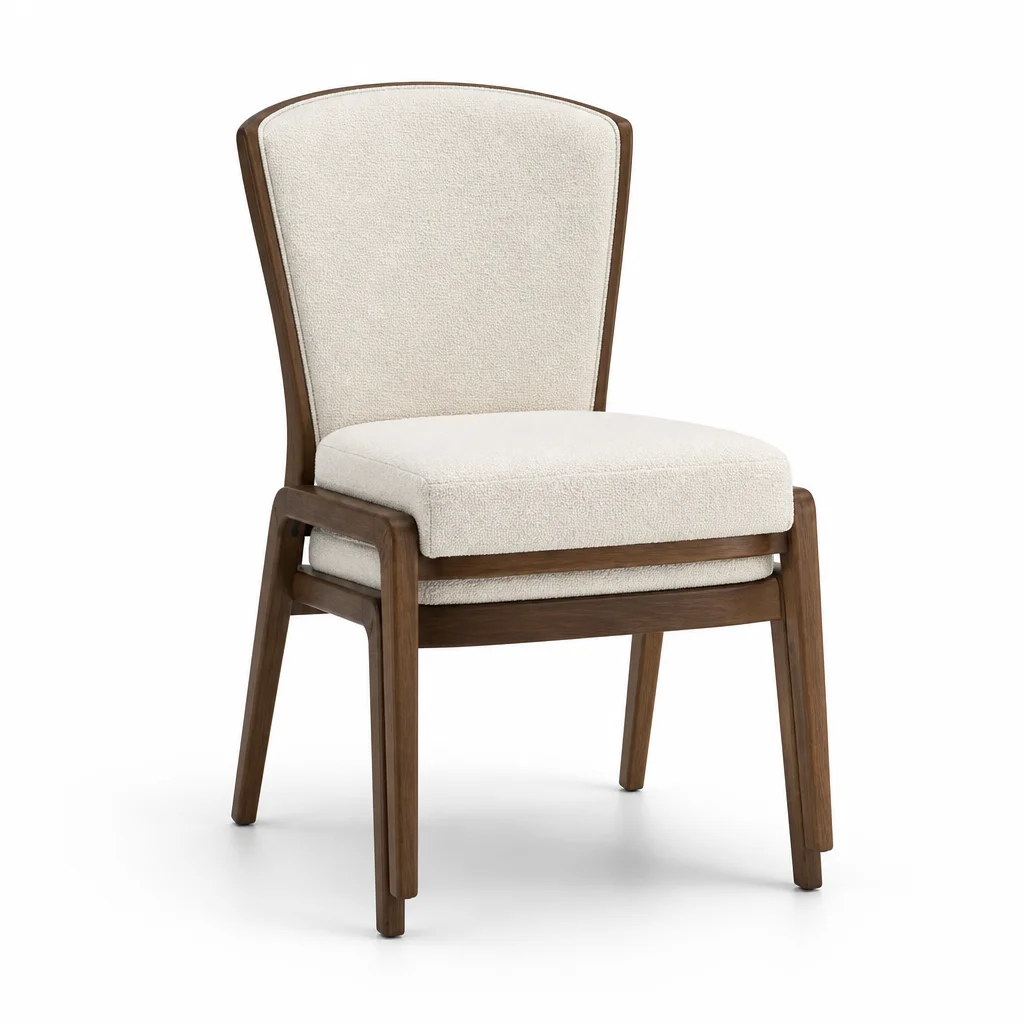
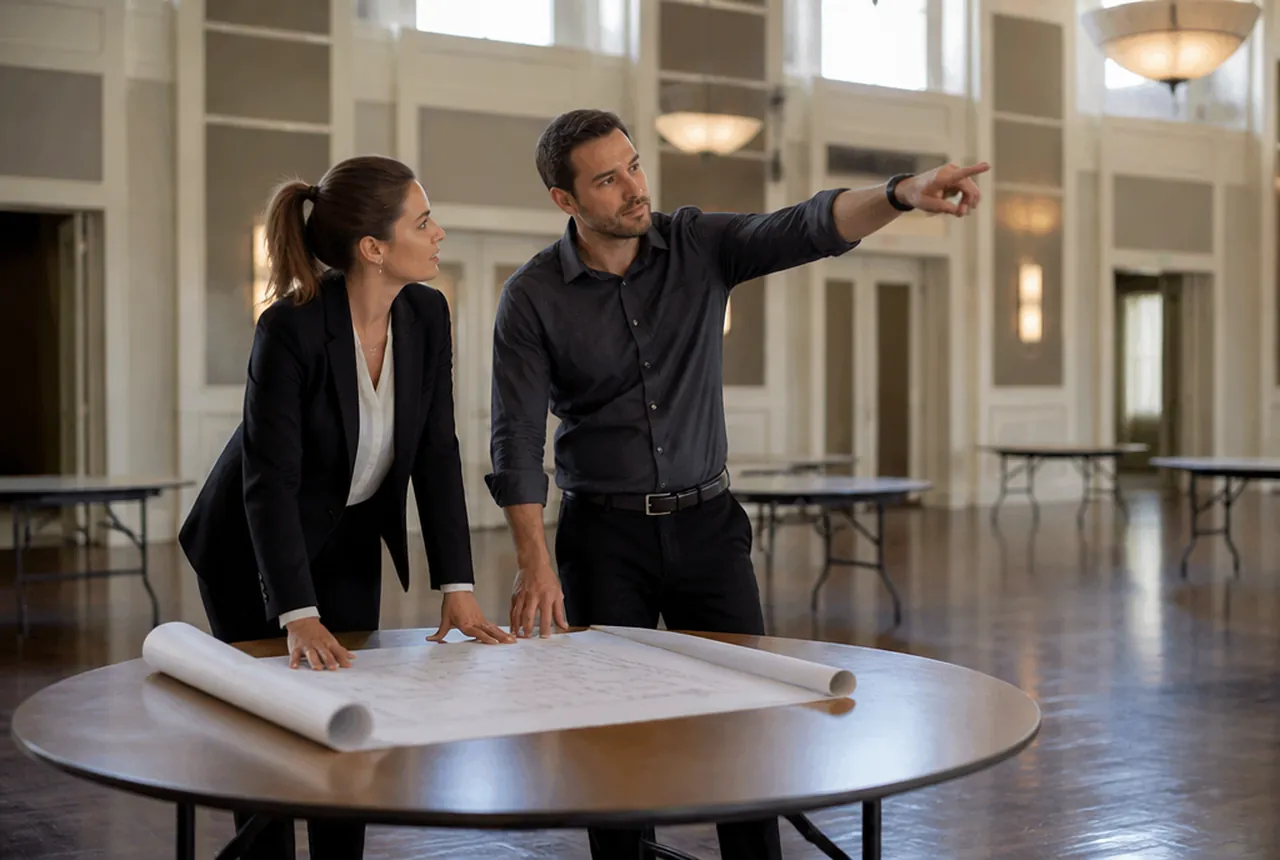
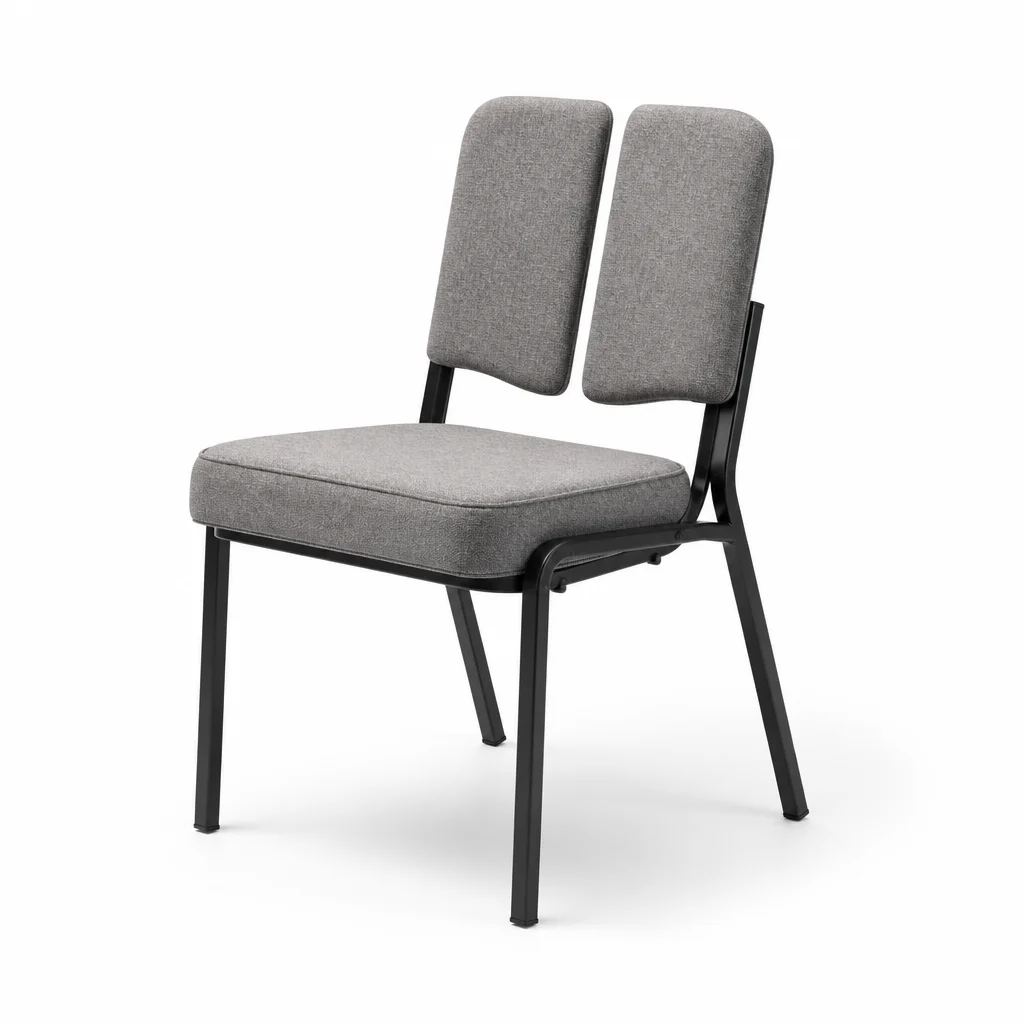
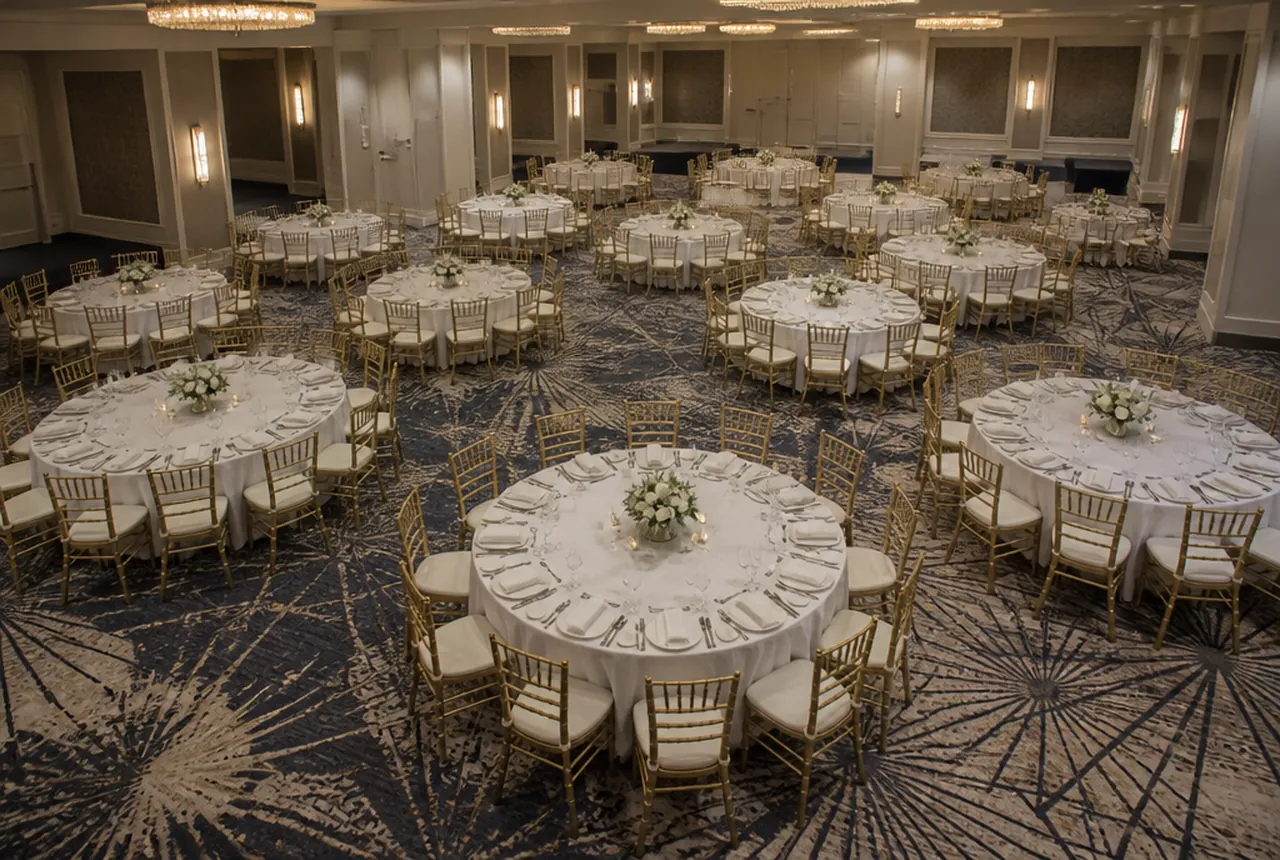
A plain note before the pictures: the photographs on this page are illustrative concept images. They are not photographs of real venues, and they are here to show the shape of each setup, not to document a specific room.
The three numbers that govern all sixteen
Almost every layout decision reduces to three figures. The first is cover width, the run of table edge one guest needs. Twenty-four inches per cover is the industry-standard working figure on rectangular tables. Crowd to twenty inches and elbows touch; open to thirty inches and the table reads as generous.
The second is the service aisle. Between two banquet rounds, sixty inches of clear floor from table edge to table edge lets two guests sit back to back and still leaves a server a path between their chairs. That figure is the single most common casualty when a planner tries to add one more table.
The third is the accessible route. Under the 2010 ADA Standards for Accessible Design, an accessible route needs at least thirty-six inches of clear width. At dining surfaces, at least 5 percent of seating and standing spaces must comply and be dispersed throughout the space; the separate wheelchair-space dispersion rules for assembly areas apply to fixed seating. Thirty-six inches is a floor you never plan below, not a target.
Capacity itself is a fourth number, and it is not yours to set. Occupant load comes from local fire code, generally by way of the International Building Code or NFPA 101, and it depends on your exits, not your table plan. Every square-feet-per-person figure below is a planning allowance for estimating. Confirm the legal maximum with your venue and the authority having jurisdiction before you promise anyone a headcount.
| Layout family | Planning allowance (sq ft per person) | Seating relationship |
|---|---|---|
| Theater and ceremony | 6 to 8 | Rows facing one focal point |
| Banquet rounds | 10 to 15 | Full circle, social |
| Classroom | 12 to 18 | Tables facing front, one side |
| Cabaret and crescents | 15 to 17 | Partial rounds facing a stage |
| Standing reception | 8 to 12 | No fixed seats, circulation driven |
| Hollow square | 30 to 35 | Closed ring, peer to peer |
| U-shape | 35 to 40 | Open horseshoe, presenter focus |

1. Full rounds of ten
The default reception setup and the yardstick everything else is measured against. A 60-inch round seats eight comfortably and ten when you need the headcount, which puts roughly nineteen inches of edge per cover at ten tops. That is tight but workable for a plated dinner where nobody is spreading out papers.
The clearance that matters is not the table, it is the gap. Sixty inches between adjacent table edges works out to about ten feet on centre for 60-inch rounds, and that spacing is what lets a server work the outside of each table without asking guests to lean forward. Rounds fail in long narrow rooms, where the circle geometry wastes floor along the walls, and they fail whenever a program matters, because roughly a third of every table has its back to the stage. For the full seat-count breakdown by diameter, see guests per round table.
2. Cabaret crescents
Cabaret is a round with a bite taken out of it. Seat only the back two-thirds of the arc and rotate every table so its open mouth points at the stage. A 60-inch round drops from eight seats to about five, and a 72-inch drops to six or seven, which is why the allowance climbs to fifteen to seventeen square feet per person.
You buy a sightline with that lost third, and it is usually worth it for awards dinners and anything with a program. Stagger the ranks so a back table looks into the gap between the two in front of it rather than over a head, and hold at least fifty-four to sixty inches between crescent edges. Cabaret fails when the crew sets every table pointing the same compass direction instead of every table pointing at the stage, which turns a unified audience back into a scatter of dinner tables.

3. Imperial king's tables
Long runs built by butting rectangular tables end to end, seated both sides, sometimes with a cap at each head. At twenty-four inches per cover a 6-foot table gives you three per side, an 8-foot gives four, so a run of five 8-foot tables seats forty plus two heads.
Imperial tables read as grand and photograph beautifully down their length, and they use floor efficiently in a room that is longer than it is wide. Give each run the same sixty inches of clear aisle behind the chairs on both sides, because a long table with a pinched back aisle traps everyone in the middle. The failure mode is conversational: at forty inches across you can talk to the person opposite and the two beside you, and that is all, so a run this long is really a chain of small tables that happens to share linen.
4. Head table on a riser
Seated on one side only, facing the room, and usually lifted eight to sixteen inches on a riser so the back of the room can see. One-side seating doubles the linear table you need: ten people at twenty-four inches each is twenty feet of table, so four 6-foot tables at minimum.
The riser is the part that gets planned badly. It needs steps or a ramp at a usable end, it needs a clear working strip behind the chairs so a server can reach the far seat without climbing, and it needs to sit far enough back that the front row of guest tables is not craning upward. If anyone at that table uses a wheelchair, the accessible route has to reach their seat, which usually means a ramp and a rethink of the riser rather than an apology on the night. The layout choices around it are covered in head table setup ideas.
5. Centre dance floor
Put the floor in the middle and ring the tables around it and every guest is roughly equidistant from the action, which is the whole argument for this shape. It works best in square rooms, where a centred floor leaves four usable table zones instead of two.
Size the floor to the share of guests you expect dancing at once, not to the guest list, and remember the floor is a hole in your seating envelope: whatever it occupies comes off the table count before you start placing rounds. The failure is the empty island, a floor sized so cautiously that nobody wants to be first onto it, closely followed by its opposite, a floor so generous that it eats the tables you needed. Work the ratio out on the dance floor size guide before you commit.
6. Theater rows
Chairs only, in rows, facing one point. The densest layout on this page at six to eight square feet per person, with chairs about eighteen to twenty inches on centre, so a 30-foot row holds roughly eighteen seats.
Because theater packs people, egress becomes the binding constraint rather than the floor area. Break long banks with cross aisles so no one is stranded mid-row, keep the accessway between rows genuinely walkable, and disperse the wheelchair spaces through the depth of the seating rather than lining them up at the back wall. Theater fails the moment the event needs a writing surface or a plate, and it fails on comfort past about ninety minutes. The detail is in theater style seating layout.
7. Ceremony aisle
Theater seating split into two banks by a processional aisle. The aisle is the layout. Plan it at sixty inches or wider so two people can walk side by side with a dress between them, and keep it straight and unobstructed from the entry doors all the way to the front.
Hold the front row back six to eight feet from where the party stands, so the guests in row one are not inside the ceremony. Reserve the aisle seats nearest the front for family before you build the rest of the block. This shape fails when the aisle is set to a photograph rather than a walk, narrow and dramatic on paper and unusable with a photographer backing down it, and it fails when the room has to flip to dinner and nobody staged the tables anywhere reachable.
8. Classroom
Rectangular tables in ranks, chairs on the audience side only, everyone facing front. Roughly double the theater footprint at twelve to eighteen square feet per person, because each guest needs table depth as well as a seat. A 6-foot table takes two to three in classroom, an 8-foot takes three to four.
Leave enough between ranks that a guest can push their chair back and stand without touching the table behind, which in practice means about three to four feet of clear floor between the chair backs and the next table edge. Classroom is right whenever people write, type, or eat during a program. It fails in a shallow wide room, where the back ranks end up so far off axis that half the audience is watching the screen at an angle. See classroom style seating layout for the rank spacing in detail.
9. U-shape
An open horseshoe with chairs on the outside edge only and a presenter or screen at the open end. It is the least dense layout here at thirty-five to forty square feet per person, and that cost buys something specific: everyone can see everyone else and the presenter at the same time.
Allow twenty-four to thirty inches of outside edge per person and keep the interior of the U genuinely clear so a presenter can walk into it. Past about twenty-five to thirty people the arms grow so long that the guests at the tips cannot hear across the opening, and at that point the shape has stopped doing its job. The companion geometry is in U-shape and hollow square setup.
10. Hollow square
Close the U into a full ring and you get a hollow square: four runs of table, chairs outside only, an empty middle, and no head. That absence is the point. Nobody sits at the front because there is no front, which is why it suits negotiations, committees, and working groups that need to feel level.
Budget thirty to thirty-five square feet per person and the same twenty-four to thirty inches of edge each. The interior stays empty, so leave at least one corner un-butted or plan a break in a run, otherwise a latecomer has to climb over the tables to reach a seat on the far side. It fails on acoustics well before it fails on space: past roughly thirty people, the diagonal across the square is too far to hold a conversation.
11. Boardroom
One solid table, seated on both long sides and usually at each end. Boardroom is hollow square with the middle filled in, and it is the right call under about sixteen to twenty people, where a filled centre gives everyone a shared surface for documents and devices.
Allow the same twenty-four to thirty inches of edge per seat and keep at least three feet of clear floor behind the chairs on both sides, more where a door or a credenza is. A wider table pushes people apart and kills the cross-table conversation the shape exists for, so resist the instinct to build it from two rows of tables butted long-side to long-side unless the group genuinely needs the depth. More on the variants in conference room layout.
12. Double-sided buffet line
Pull the buffet off the wall and both faces become servable, which roughly halves the queue for the same run of table. Give the guest side at least thirty-six inches of clear approach and keep a working aisle behind or between the runs so staff can replenish without crossing the line.
Position the run so the queue forms into open floor, never across an egress path and never through the dance floor. Every line needs a clear entrance and a clear exit; the classic failure is the dead end, a run pushed against a wall with one way in and out, which stalls completely the first time somebody stops to consider the carving station. Plate placement, station order, and queue math are covered in buffet line setup and flow.
13. Standing cocktail floor
No fixed seats, just highboys as places to set a glass. Plan on eight to twelve square feet per person depending on how much you want people moving, and figure roughly one highboy per six to eight guests, which is enough to give everyone a landing spot without filling the floor.
The design goal is circulation, so scatter the highboys deliberately rather than lining them up, and leave broad lanes between clusters instead of an even field of obstacles. Seat ten to twenty per cent of the guest count somewhere, because there will always be people who need to sit. This layout fails when the bar and the food land on the same side of the room, which pins the entire crowd into one half and empties the other. See cocktail reception layout.
14. Exhibition booth grid
Booths on a modular grid, typically in ten-foot increments, with numbered aisles running the length of the hall. The layout is really the aisle plan: exhibitors are paying for footfall, so every aisle needs to lead somewhere rather than dead-ending in a corner.
Aisles here run wider than in any other layout on this page, because crowds bunch in front of whichever booth is busy. Keep the main circulation routes generous, hold the cross aisles genuinely clear, and never let a booth structure or a queue narrow a required egress path. Anchor the biggest draws at the far corners so traffic is pulled through the whole floor instead of stalling near the entrance. The full method is in trade show and expo floor plan.
15. Outdoor tent trestles
Long trestles under canvas, benched or chaired, running with the length of the tent. The constraint nobody accounts for is vertical: usable seating stops where the canopy drops, so the real seating envelope is narrower than the tent footprint, and the perimeter strip under the eave is aisle whether you planned it that way or not.
Tent poles are the other subtraction. Centre poles and leg poles come off the plan before tables go down, and a trestle run that crosses a pole line has to break around it. Benches change the cover math too, since a bench seats to its length rather than to a chair count, so plan the same twenty-four inches per person along it and accept the ends will always be looser. Ground conditions govern accessibility: an accessible route needs a firm, stable, slip-resistant surface, and grass or gravel usually means matting.
16. The staging zone
The layout nobody draws and every room needs. Stacks, dollies, and spare covers have to live somewhere during the event, and if you do not give them a place they will end up in the least convenient one, which is usually beside a fire exit.
Plan the staging zone at the same time as the seating: a defined strip against a wall, reachable from the service door, sized to hold whatever comes out of the room in a flip. It must never encroach on an egress path or an accessible route. On a ceremony-to-dinner flip this zone is what determines how fast the crew can work, because a stack parked forty feet from where the tables go costs the crew a walk on every trip. Draw it on the plan, mark it on the floor, and the flip stops being a scramble.
Choosing between them
Work backwards from the event's centre of gravity. If there is a stage, program, or screen, the layout must face it, which puts you in theater, ceremony, classroom, or cabaret depending on whether people are writing or eating. If the point is conversation, rounds and imperials do the work, and the choice between them comes down to room proportion: circles for square rooms, long runs for long ones. If the point is discussion among equals, U-shape, hollow square, and boardroom trade density for the ability to hear and see one another, and they only work at small headcounts. If nobody is sitting, plan circulation instead of seats.
Then check the shape against the room rather than the guest list. Apply the square feet per person allowance for your chosen style to the seating envelope you actually have after the stage, floor, bars, and stations come out. Confirm the legal occupant load with the venue and the authority having jurisdiction, and take the smaller of that number and your capacity estimate. Then verify the clearances one at a time: sixty inches between round edges, thirty-six inches minimum on every accessible route, aisles that reach at least two exits without passing through a buffet queue. When the shape, the envelope, and the clearances all agree, the setup crew builds the room once and the night runs itself. The spacing figures behind those checks are collected in table and chair spacing, and the wider style comparison in banquet room setup styles.