Layout guide
ADA Accessible Seating at Events: Routes and Clearances
ADA accessible seating at events: published route widths, turning space, table height and knee clearance, dispersed seating, and accessible buffet reach.
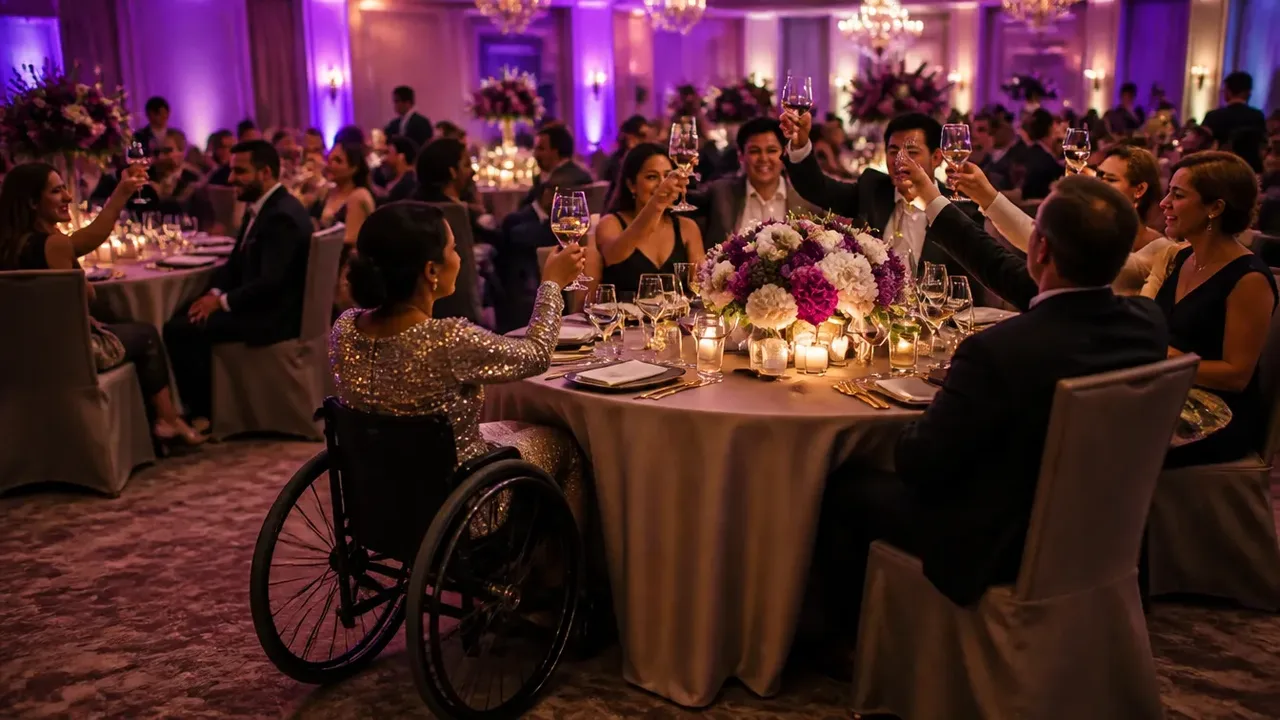
Accessibility is a layout decision, and it is made on the floor plan weeks before anyone arrives. That is the whole point. A room designed for access looks like a room, with a guest sitting at a table with the people they came with. A room that treated access as a request handled at the door looks like one table pulled out of the grid at the back, near the service door, with a server squeezing past.
The technical numbers here are published federal criteria, not opinions, and they are worth knowing cold. The 2010 ADA Standards for Accessible Design and the standards maintained by the US Access Board set the route widths, clearances and dispersion criteria this page uses. How they apply to a specific building, and how a temporary event set inside it is treated, is a question for your venue and the authority having jurisdiction, so verify with them rather than assuming. What follows is how to build the plan so that conversation is easy.
The published clearances worth memorizing
These are the figures a banquet plan touches most often. Every one comes from the standards linked above.
| Element | Published criterion | What it means on your plan |
|---|---|---|
| Accessible route, clear width | 36 inches minimum | The narrowest your continuous path may go; wider is better where guests and servers share it |
| Route pinch point | 32 inches minimum clear for 24 inches maximum; reduced segments separated by at least 48 inches at the full 36 inch width | A brief obstruction may narrow the route. A long or repeated tight corridor may not |
| 180-degree turn around a narrow object | 42 inches approaching, 48 inches at the turn, and 42 inches leaving; or 60 inches at the turn | A 36 inch route alone is not enough for every switchback |
| Turning space | 60 inch diameter circle, or a T-shaped space | Needed where a guest has to change direction, not just travel |
| Clear floor space at an element | 30 by 48 inches | The footprint one person and a wheelchair occupy at a table or counter |
| Dining surface height | 28 to 34 inches above the floor | A standard 30 inch banquet table already sits in range |
| Knee clearance under a surface | 27 inches minimum high, 30 inches minimum wide | Measured under the tabletop, which is where an apron or a table skirt clip can spoil it |
| Forward reach, high point | 48 inches maximum | The ceiling on self-service buffet and counter items |
| Sales or service counter height | 36 inches maximum on the accessible portion | Applies to the part of a bar or check-in counter serving as accessible |
Notice how many of them your existing furniture already satisfies. A standard 30 inch high banquet table is a compliant dining surface height out of the box. The failures are almost never the table. They are the route to it, the chair left in the space, the skirting clipped low enough to catch a footrest, or the centerpiece nobody can reach around.

Draw the route before you draw the tables
An accessible route is continuous or it is nothing. A 36 inch path that runs beautifully for fifty feet and then passes a table where one chair is pushed back is a blocked route.
Draw it as an object on the plan, the same way you draw the dance floor. It starts at the accessible entrance, runs through the room, and reaches seating positions, the bar, the buffet, the restroom corridor and the exit. Then hold it clear of everything: gift tables, side stations, cable runs, floral, easels, the photographer's case.
Two practical notes. Plan wider than the minimum wherever the route passes between two seated tables, because a route drawn at 36 inches assumes nothing intrudes and a pulled-out chair intrudes by 30 inches or more. The chair geometry behind that is in table spacing at events. And the route has to survive the whole night, not just the room check at 5 p.m., so brief the crew that it is a fixed feature rather than spare floor.
An accessible place at the table, not a table by itself
The most common well-meaning mistake in a banquet room is a dedicated accessible table off to one side. Guests do not come to events to sit apart from the people they came with.
The right answer is an open place at an ordinary table. Take one chair out of a normal round, leave the 30 by 48 inch clear floor space at that position, keep the approach to it clear, and set the place exactly like the others. Nothing about the table changes. Nothing about the linen changes. One chair is simply not there.
Watch three details when you do it.
- Knee space is real space. Check under the tabletop for aprons, cross braces, table clips and the folded bulk of a floor-length linen. A skirt clipped tight can reduce the usable opening.
- The linen drop. A heavy floor-length drop bunched at the open place gets in the way. Dress it so it hangs cleanly.
- The approach. An open place is useless if reaching it means passing between two occupied chairs. The place you open should be the one facing the aisle.

Disperse the seating
Dispersion is the principle that accessible seating should offer a comparable choice of location rather than being clustered in one spot. For dining surfaces, section 226 requires at least 5 percent of the seating and standing spaces to comply and requires those accessible dining spaces to be dispersed throughout the space or facility. Section 221 separately governs wheelchair spaces, companion seats, sightlines and horizontal or vertical dispersion in assembly areas with fixed seating. A movable banquet plan should not borrow the fixed-seat count table without first confirming which scoping rule applies to the venue and event.
Translated into banquet practice, it means this. If a room has a stage, do not put every accessible dining place at the back. If a room has a dance floor, do not put every one at the far end from it. Spread the compliant dining places across the room so guests have meaningful location choices and can sit with their parties. In fixed assembly seating, each required wheelchair space also needs an adjacent companion seat; at movable dining tables, keeping a party seat directly beside the open position is the practical inclusive arrangement even when section 221 is not the applicable scoping rule.
For a ceremony, the same logic applies to chair rows. Build open positions at the ends of rows in more than one part of the block, including near the front, with a companion chair alongside, and keep the aisle serving them continuous and level. The row and aisle mechanics are covered in the ceremony seating layout.
Plan an appropriate number of accessible places rather than one token spot. At dining surfaces, at least 5 percent of the seating and standing spaces must comply with section 902. Fixed assembly seating uses the separate count table in section 221. Look up the rule for the actual configuration, confirm it with the venue where application is uncertain, and build to that number rather than to a guess.
Buffets, bars and stations
Service points are where an otherwise good plan usually breaks, because they are set by a catering crew who were not shown the floor plan.
- Approach lane. Keep the guest side of every buffet line at a continuous 36 inch minimum clear width, and plan 48 to 60 inches where a guest serving themselves must be passed by someone else. The line design that makes this practical is in buffet line setup and flow.
- Reach. Self-service items must fall within the published reach ranges, with 48 inches as the high point of a forward reach. That rules out the top tier of a tall display for self-service. Put tall items where an attendant serves them, or keep the display low.
- Level approach. No lip, no cable, no riser step at the head of the line. If a station sits on a platform, it is not accessible.
- Bar. Provide an accessible portion of the counter at 36 inches maximum height with clear floor space in front, or plan attended service at a lowered section. A 42 inch bar top alone does not do it.
- Turning room. Give the head and tail of every line enough open floor for a guest to turn and leave without reversing the whole length of it. And remember that staff assistance, welcome as it is, does not replace a reachable, approachable station.

Egress is a separate authority
Accessibility and life safety overlap on your floor plan and answer to different rules. Aisle widths, aisle accessways, exit access and the room's occupant load come from local fire code, commonly built on the NFPA 101 Life Safety Code, enforced by the authority having jurisdiction. An accessible route that satisfies the ADA criteria may still be too narrow for the egress the fire code requires in that room, or the other way around. Design to whichever is more generous, and confirm both with the venue.
The pre-doors accessibility check
Walk this before the doors open, every time.
- Walk the accessible route from the accessible entrance to a seating position, continuously, without stepping around anything.
- Confirm the route is a continuous 36 inches minimum; any 32 inch reduction is no more than 24 inches long and is separated from the next reduction by at least 48 inches of full-width route.
- Check any 180-degree turn around a narrow object against the wider 42/48/42 inch turn rule or provide 60 inches at the turn.
- Confirm there is turning space wherever the applicable standard requires it, including service points whose layout requires a guest to reverse direction.
- Count the compliant dining places, confirm they meet the 5 percent scoping rule and are distributed across the room, and keep party seating beside each one.
- Check knee space under each open place with your hand, not your eye.
- Check the linen at each open place hangs clean and does not bunch into the opening.
- Walk the guest side of every buffet and bar and check width, level and reach.
- Confirm the route to restrooms and to the exit is clear, and stays clear once the room is dressed.
- Brief the captain that the route and the open places are not spare floor for equipment or late tables, then re-walk after floral, easels and gift tables arrive.
Where to go next
This page sits under the event floor plan guide hub, and access belongs in that plan from the first line rather than as a late amendment. Build the route as an object, open places at ordinary tables, disperse them, and make the service points reachable. It is the same work as any other good layout decision, done for everyone.